 |
| Harken 436 Small Boat Furling, |
When I acquired my Capri 22, I discovered that a previous owner had added three padeyes to the bow. The two padeyes aft of the bow cleats can be used to reposition the lifelines from the top of the pulput to the deck without having to adjust the length of the lifelines. This modification is popular for racing. The larger padeye centered aft of the stem fitting serves as the attachment point for a Harken 436 small boat furling system. The setup allows the forestay to still be used for hank on sails while providing enough space for the roller furling to operate.
 |
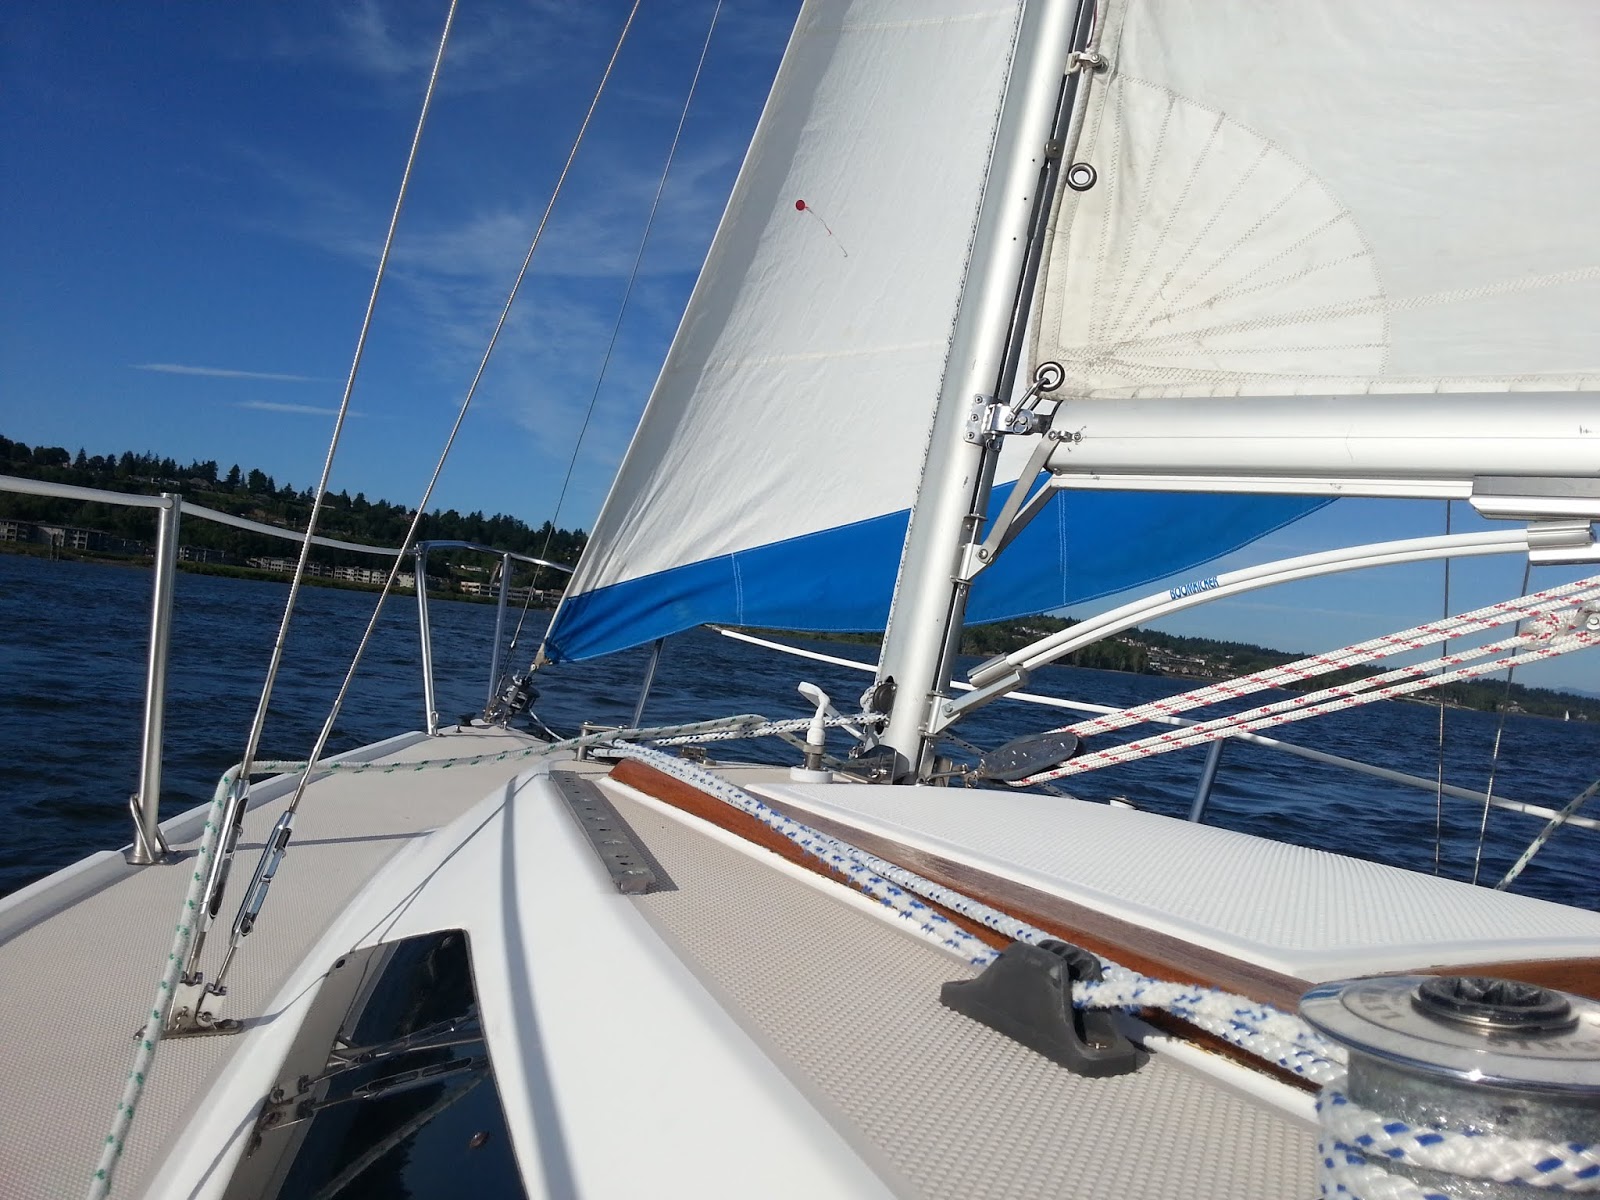
| 110 Jib attached to Harken 436 Furling, |
Shortly after getting the boat, I inspected the backside of every hull, deck, and cabin penetration for signs of leaking. The aftermarket padeye installed for the Harken furling system had only been bolted to the deck. This can lead to the padeye being pulled up from the deck under load from the furling system. To correct the problem and redistribute the load to other parts of the boat, I borrowed an upgrade solution used on pre-1982 Catalina 22s to correct an original design flaw. Unlike the Capri 22, where the stem fitting is bolted to both the deck and the bow (see photo below), the early Catalina 22 stem fittings lacked a tang that bolted to the bow.
 |
| Capri 22 stem fitting attached to the deck and to the bow. |
In the photo below you can see the woodblock backing up the bow eye, and above it, the two bolts tying the stem fitting to the bow. The objective here is to attach the padeye to the bow eye and thus transfer part of the load from the Harken furling system to the Capri 22 hull.
 |
| Wood block backing up the bow eye. |
Reinforcing the Payeye. I replaced the padeye backing plate with a padeye that matched the one topsides. This change served two purposes. First, the topside padeye needed a backing plate, and two, the underside padeye gave me an attachment point for the turnbuckle I would use to connect the padeye to the bow eye. I used a stainless steel tang bent to match the angle between the turnbuckle and the bow, to tie the padeye to the hull. Once everything was in place, I simply tightened the turnbuckle to remove the slack, and then I was done.
 |
| Padeye reinforced. |
This was a fairly simple upgrade. I was able to reuse all the fasteners because they were long enough to support the added items. Especially delightful was the fact that everything I used came from spare parts I had laying around. You might have also noticed that I secured the loose hanging wiring going to the bow light.


No comments:
Post a Comment